Perth Autosalon 2008 a success
Well it's been a couple of weeks since the Perth Autosalon 2008 event and I've finally found a space to get this update done. Oh, and I do apologise to those following this blog for the tardiness of the updates recently.
Anyways, the event. I must say first off that being able to drive the car to, into and out of the venue this year was a great feeling. Last year we didn't manage to get the car completed before the event (even with the massive two week push before hand). And even though I won the 'Best Overall Engineering' award, it didn't seem right.
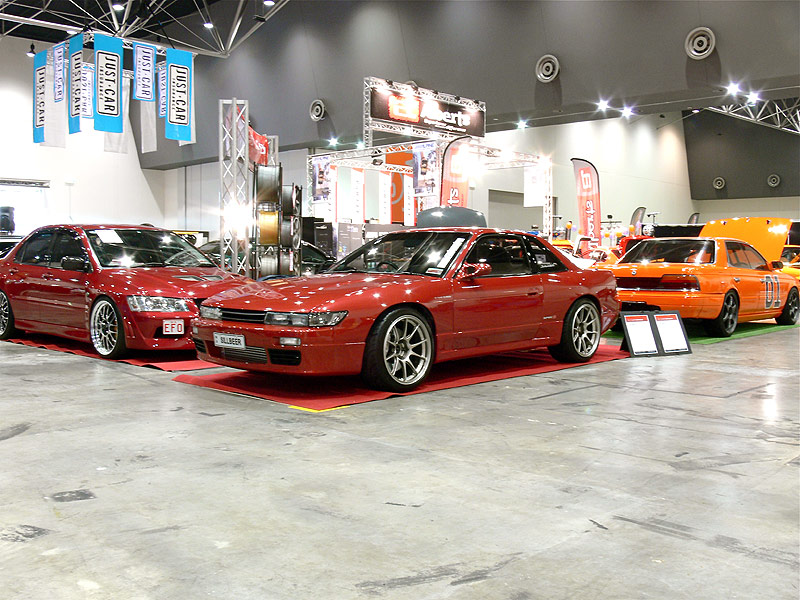
Again Jeff Ash, Director of C-Red, asked to have Sillbeer back on the C-Red stand this year (thanks mate), and with the other cars that C-Red had I was in hallowed company. This included another C-Red customer's car '200SXY' (Nissan S15 Silvia/200SX) which took out 'Best Engineered Brakes' and 'Best Vinyl Graphics' this year. C-Red's vehicles included their 'EFO' Mitsubishi Evo VII GTA, a recently started Lexus GS300 with complete Junction Produce makeover and the new legendary 'General Lee Sideways' Nissan Laurel which has copped a 5.7L Holden LS1 twin-turbo conversion. The Laurel took out a number of awards including 'Top-Judged Innovation', 'V8 Highest Power Output' and 'Power Champion (Highest Power Output)' with a top of 502kw ATW!
Here's a few photos of SILLBEER from the event:
- C-Red Stand with the Laurel in the foreground
- Front quarter view
- Rear quarter view
- Car spent most of its time with the boot, doors and bonnet open
- Interior view
- Engine compartment 1
- Engine compartment 2
I had spent the Thursday and Friday before the event cleaning and polishing the car inside, outside and underneath only to have to drive from the workshop to the venue in torrential rain! But as the polish had only just been done and it was rain water a quick chamois off and buff and all was good again.
Now as part of the event, and the fact that the car was a driver, I did take part in both the Dyno and dB Drag Racing components. I have no pics of the db Drag Racing, which is logical considering it's not really exciting and managed to crank the stereo up to a respectable 126.7db taking out 1st place in the 'Street Stock A' class. Not bad for a single 10" Sub-doofer in the boot.
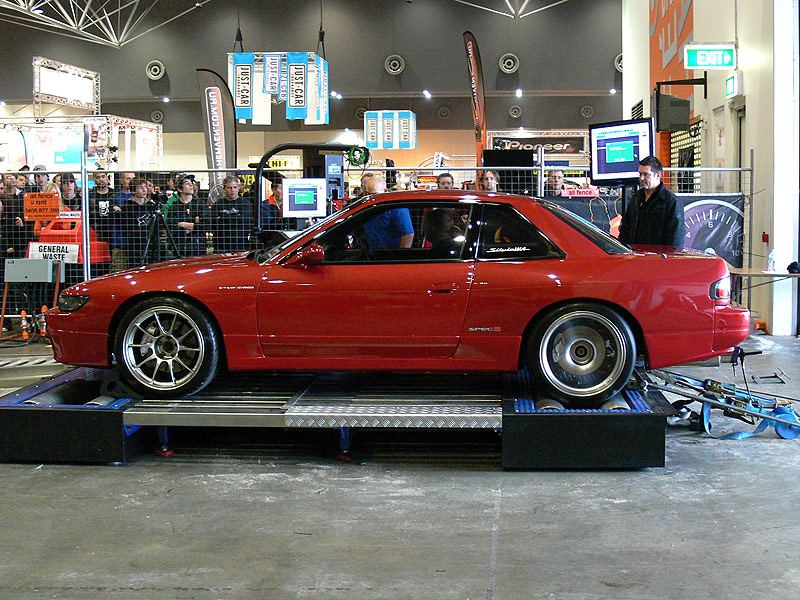
As for the Dyno, well according to most who had run their cars on dyno's the week leading up to the event, it was reading low. But then again, dyno's are there as a tuning tool as opposed to a full on correct measuring system. The dyno used was a Mainline one and is trucked around to all the Autosalon events around Australia. As this was the case, I was estimating around the mid 200hp's for my run. After loading it on and having an initial go, this is the video of the second run.
- Getting strapped down
- Final dyno results
The end results of 200.3kw (268.6hp) at the wheels was a pleasant surprise. Previously the car has made 251kw (337.4hp) at the hubs on a Dynapack Hub Dyno so it's anyones guess what it really makes. Whatever it is, for a daily driver and occasional track hack it's plenty.
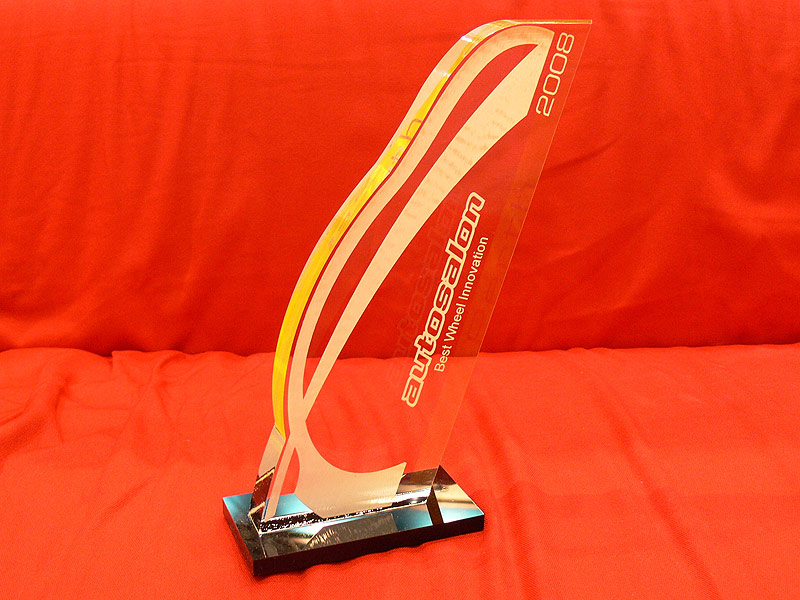
At the end of the show, I did manage to pick up an award for 'Best Wheel Innovation'. Probably not as highly regarded as 'Best Overall Engineering' from the year before, but fitting 18x9.5+10 on the front and 18x10.5+12 on the rear of an S13 Silvia is no mean feat - and an award is an award after all.
All in all I had a cracker of a time and thank my wife and kiddies for letting me do it. Jeff, Marc, Josh, Boney and Armond from C-Red for their help in preparation and on the day and Sequoia (owner of 200SXY) for her support over the weekend too.
Cheers
Brendan
