Tuesday, November 14, 2006

Tank stripped bare...
Working on the Fuel Tank

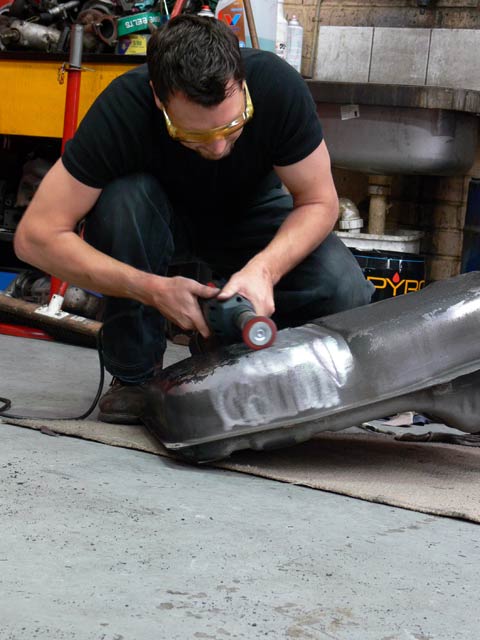
Didn't have a lot of time on Saturday to get stuck into anything time consuming like painting, so I decided (with the help of Clint) to prep the fuel tank for painting. First up we gave it a quick wipe down with some prepsol to get rid of the grime that had built up on it. Then out came the drill and a nylon grit brush and off came the old paint from the bottom because it was very chipped and nasty. To do the whole bottom of the tank took about 1.5hrs - but this was the only attachment I had for stripping paint. Next week I'll give it a sand down for a nice smooth finish and then spray on some VHT Epoxy Paint in Satin Black (SP671). That should provide a nice solid finish.

- Starting to strip the paint
- Paint Stripping Complete 1
- Paint Stripping Complete 2
- Paint Stripping Complete 3
- Paint Stripping Complete 4

Cheers
Brendan
Monday, November 06, 2006

Fuel tank out of the old

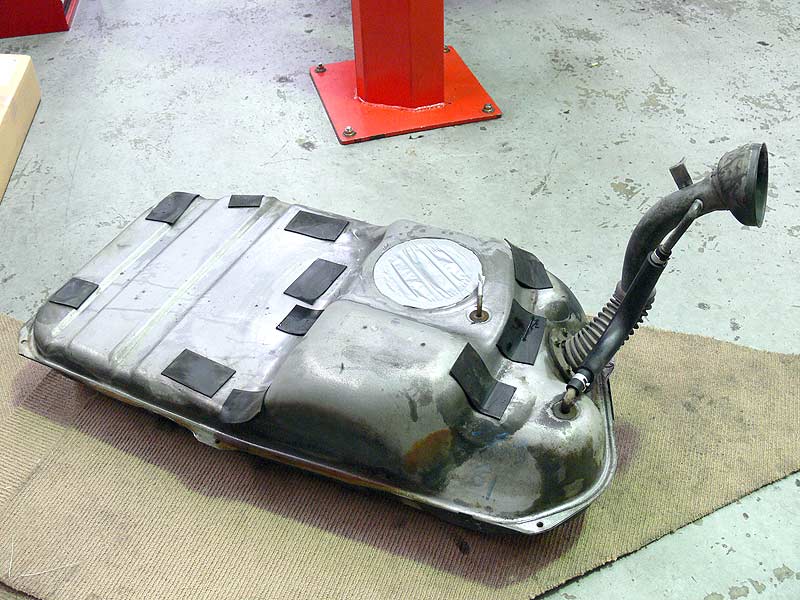
Top of Fuel Tank

Well before we put the rear subframe back in, we thought it best to remount the fuel tank and as the original was battered and bruised, as well as a little rusted, a donor car was found with a tank in reasonable condition. With the car jacked up and stand in place for safety, I first removed the plastic surrounds from around the tank and the fuel filler neck. Next, and this is after a few goes with the spanners, sockets and rechargeable rattle gun, I connected a bunch of air hoses together and got at the bolts with the trusty Bluepoint rattle gun. After removing the bolt from the front drivers side strap, and the other bolt from the rear passenger (middle) side strap, we slowly lower the tank out.

We poured the old fuel out and gave the exterior a quick clean with some degreaser and high-pressure hose, but it's going to need a good rub down and sand before giving it a coat of paint next week.

What you see in the image above is the top of the tank which is usually hard up against the bottom of the boot and viewing it from the rear. The hole covered in tape is the access hole, the lid of which, holds the internal fuel pump in place.

- Bottom of fuel tank
- Plastic fuel tank surrounds

The plastic surrounds will also be given a quick clean with the prepsol and doused with tyre shine to get them back to original condition again.

Cheers
Brendan

Thursday, November 02, 2006

...and now the front!

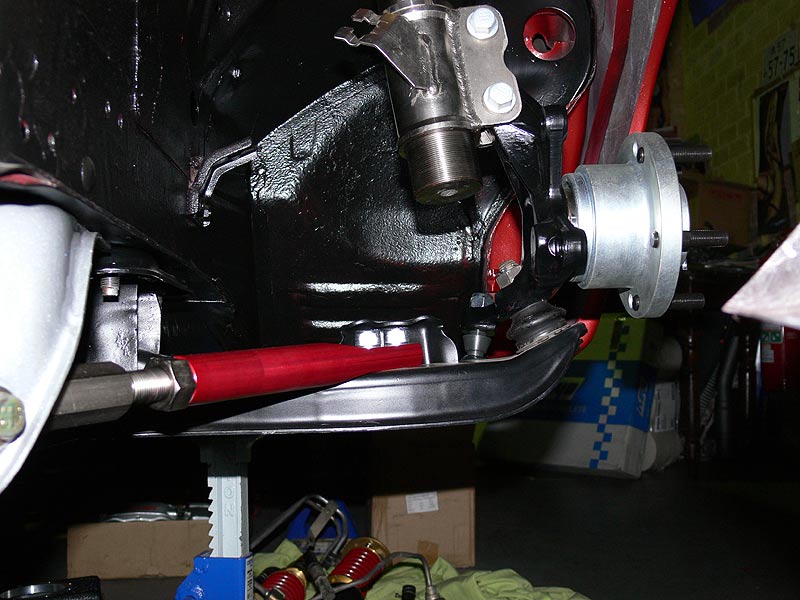
View of front suspension arms

On Tuesday night, Roy was nice enough to keep the workshop open for a couple of extra hours for me to do some more work on Sillbeer...this time at the pointy end of the car. With the bolts plating on Saturday, it was really just a matter of bolting it all up and like Saturday it felt like Christmas opening up the Kazama boxes with their shiny new arms. So to start with we bolted up the Nismo lower control arms and the RG coilovers. Then came the Kazama Pillow-ball Tension Rod (also known as the castor rod) which really is a thick piece of kit in comparison to the originals. And don't get me started on the colour! After that, it was time to get the steering sorted - I decided to get the Super Strength Tie Rods after being advised that even the smallest hits can bend the standard ones. After fitting this up and putting the boot on, the Tie Rod ends was done and fitted up to the hub carrier. Finally we mounted the new 5-stud hubs.

Most things are loosely fitted for the time being until we have the engine in. The reason being that we'll be dropping the whole front sub-frame out of the car to fit the engine and gearbox so as to not scratch the engine bay if swinging in the engine from the top. Once that's in we'll tighten it all up and fit the lovely DBA4000 330mm rotors and Brembo 4-spot calipers.

- Before the assembly
- Kazama Castor Rod
- Kazama Castor Rod connect to the Nismo Powerbrace
- End of the power steering rack - no tie rods
- Comparison of Kazama Super Strength Tie Rod to a standard Tie Rod (R33 GT-R I think)
- Tie Rods and Kazama Tie Rod Ends
- GReddy Oil Catch Tank I got last week

I'll be back in on Saturday if anything doesn't come up but not 100% sure what I'll be doing next, probably find a fuel tank, clean it, paint it and fit it up before bolting up the rear subframe.

Cheers
Brendan