Well well well. Been a while since last post hasn't it. December was a rather busy month getting ready for Xmas. The wife had a deadline of Xmas day to get our front gardens done, so weekends were spent digging, prepping, etc. Glad to say I did make the deadline and we now have a little tropical grotto out the front. So there's the reason for little work being done on Sillbeer.
So after Xmas, I spent a week off to spend time with the family which was thoroughly enjoyable - plus the workshop was closed so I couldn't do anything anyway. Last Tuesday I was in there, and planned to be there for three full days.
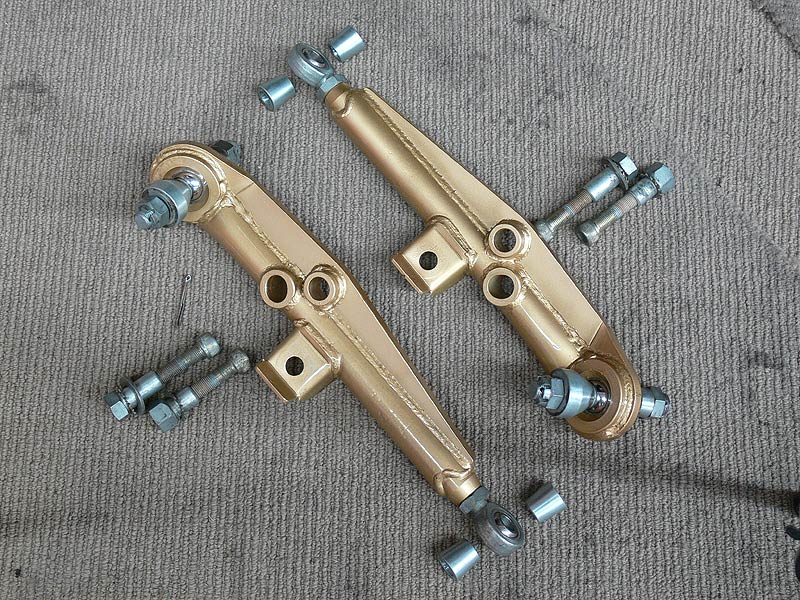
First on the agenda was to get the Ikeya Formula Front Adjustable Lower Control Arms finished off. They are pre-loved items so weren't in top shape, so I sanded them back a little and gave them a fresh coat of gold (not quite Ikeya Formula gold, but close enough for this) along with a coat of clear. The nuts and bolts etc were in pretty used condition, and I didn't have the inclination to sandblast them and electroplate them (funny considering I bought the electroplater for just that reason), so instead I got out the prepsol and a wire brush and gave them a quick once over. They didn't come up too bad either.
-
Ikeya Formula Front LCA's prepped for paintNext on the agenda was getting the windows and window surrounds all ready to have the glass refitted. The rear screen had something on it similar to the dimpled surface of a basketball which took about 2hrs all up to remove it. Ugh!! Then the old sealer was removed and given a good clean. Following on the rear quarter windows were cleaned up and the old tint removed (which was completely clear due to age and sun). The tint glue was especially a pain to get off, using a razor blade certainly helped.
-
S13 Silvia Rear Windscreen Glass-
S13 Silvia Rear Quarter Window GlassThen came the real challenge...chasing down all the bits of surround for the rear, quarter and doors. This probably took a good day and a half to find all the bits, fasteners from about 4 different wrecks that C-Red has for just such a situation. Some bits were even found in puddles of water sitting in the wrecks. In the end, I managed to get all the bits needed, although I will be needing to get new door seals, new front screen along with new front and rear window retainers.
-
S13 Silvia Rear Windscreen Lower Surround-
S13 Silvia Door Surrounds and Rubbers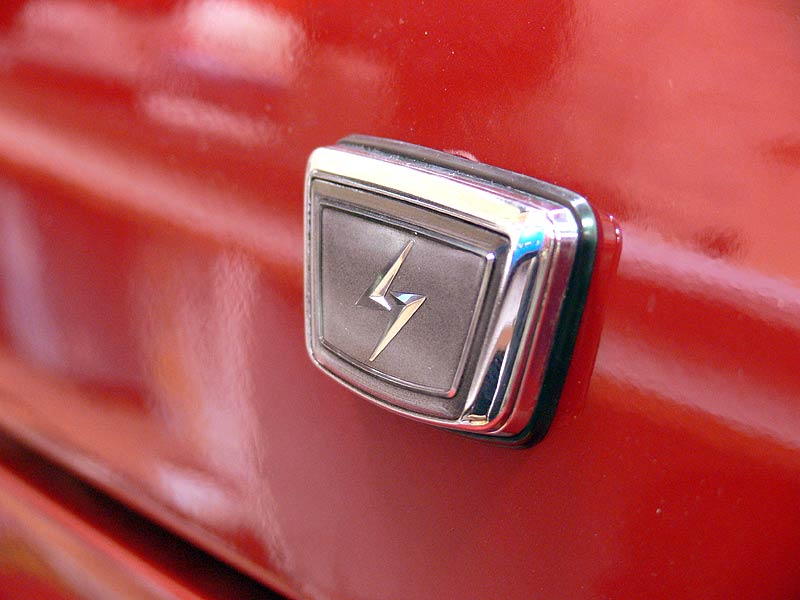
Oh, and I also added a nice boot lock in the form of an old CA version lock, just because I like it better than the SR version.
After the exterior bits, I focussed on find the scuff panels and lower kick panels. These were a little harder to track down, but finally got a full set along with the correct fasteners and gave it all a good clean in the shower, a wipe down with prepsol and finally a good lashing with the tyre shine...now look great (pics don't do them justice).
-
S13 Silvia Door Scuff PanelFollowing on from the windows and stuff, I decided it was time for a bit of a clean up. Needing access into the boot, all the bits and parts I've been storing in there needed a new home so the side skirts and other body panels waiting to be mounted were stored in a safe place and the parts were moved into the place where the rear seat will go. Giving me access to the boot which was a freakin' mess after spending plenty of time at the panel beaters. I started off with a vacuum, then some all purpose cleaner and finally a wipe down with the prepsol. This should give a nice clean surface for the Dynamat to stick to.
-
Clean Boot (left)-
Clean Boot (right)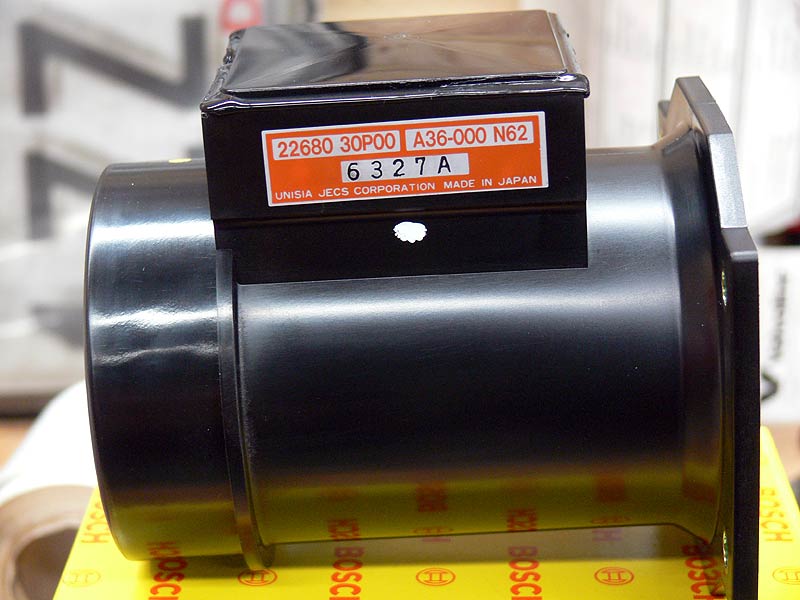
Now I have been tossing up what sort of engine management I'm going to use for sometime, and wanting to keep it to a good street car with the occasional track squirt, I wanted good cold start functionality and economical freeway/highway driving. So I've decided to give the latest BikiROM a go using an S15 ECU. This will require the need of a Z32 Air Flow Meter, so Jeff ordered in a Bosch one for me - nice and new, and give me good driveability (sp?).
-
Bosch Z32 AFM Box-
Bosch Z32 AFM Label/Side-
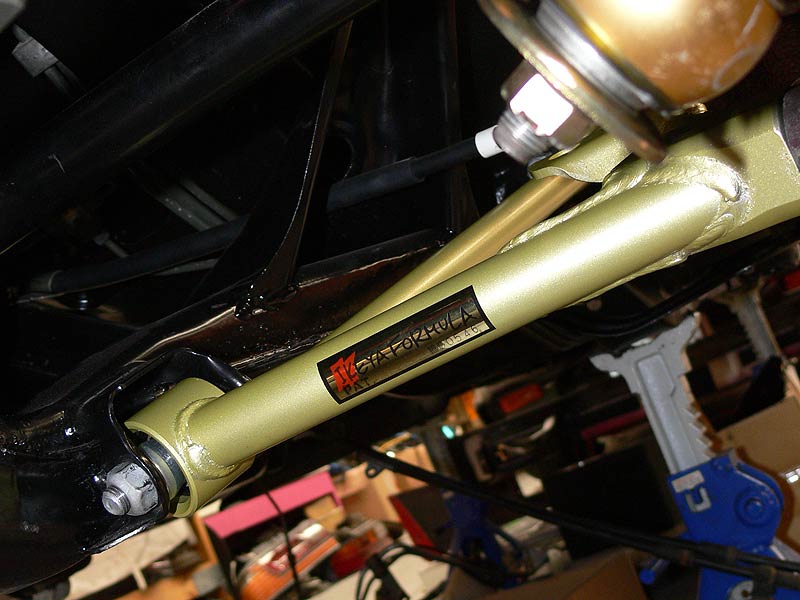
Bosch Z32 AFM InsideSomething that I've been wanting for get sorted for sometime it of course the suspension, and with all the parts needed now at hand to finish it off, I got stuck into it with only the front and rear lower control arms being the final major bits to go (sway bars will get fitted later - but at least I have them). First up the stock rear LCA's were removed which was relatively easy - remove split pin, nut and them give the hub carrier a few good hits with the hammer and she fell out. Next up I fitted the inner mounts first on the Ikeya Formula Adjustable Lower Control Arms followed by the outer ball joint. Damn it looks good.
-
Ikeya Formula Rear LCA's Installed-
Ikeya Formula Rear LCA's Ball Joint 1-
Ikeya Formula Rear LCA's Ball Joint 2And then it was onto the fitting the fronts which were prepped prior. Once I got the correct installation order for the spacers etc on the ball joints, everything went pretty smoothly. And they look hot too.
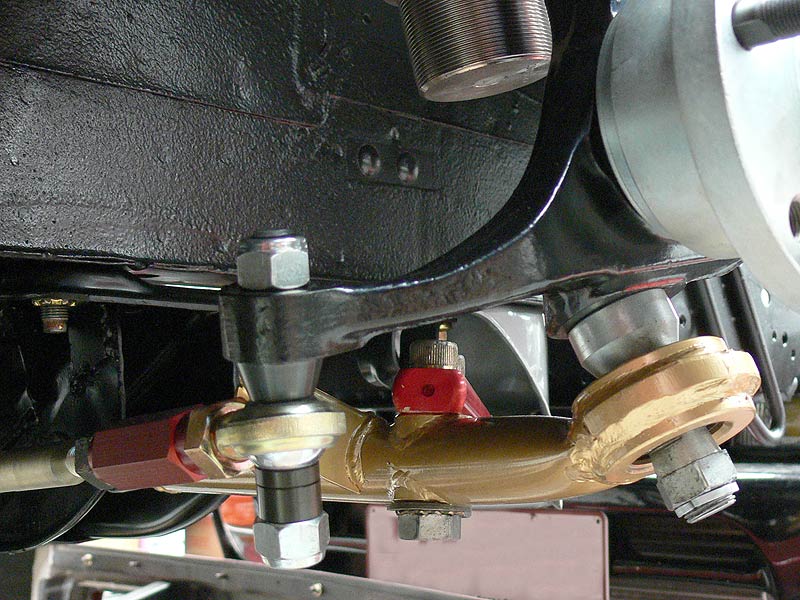
-
Ikeya Formula Front LCA's Installed 2-
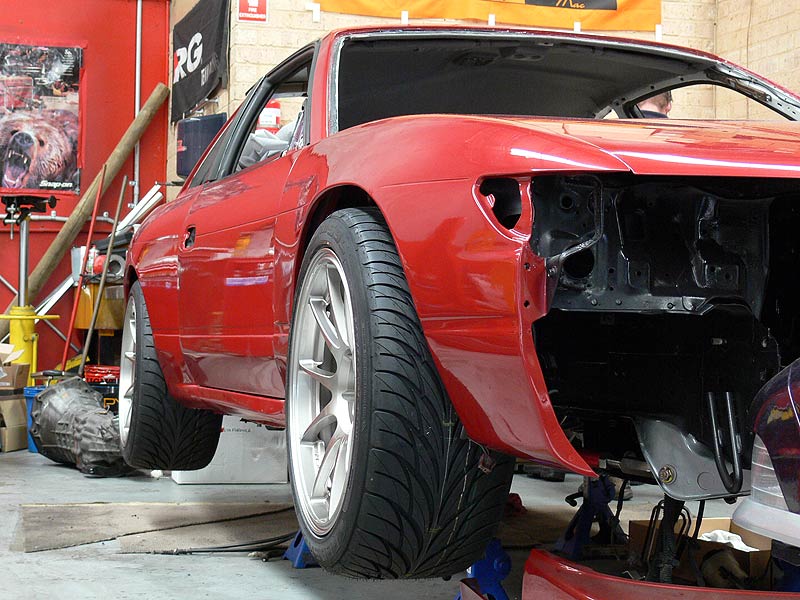
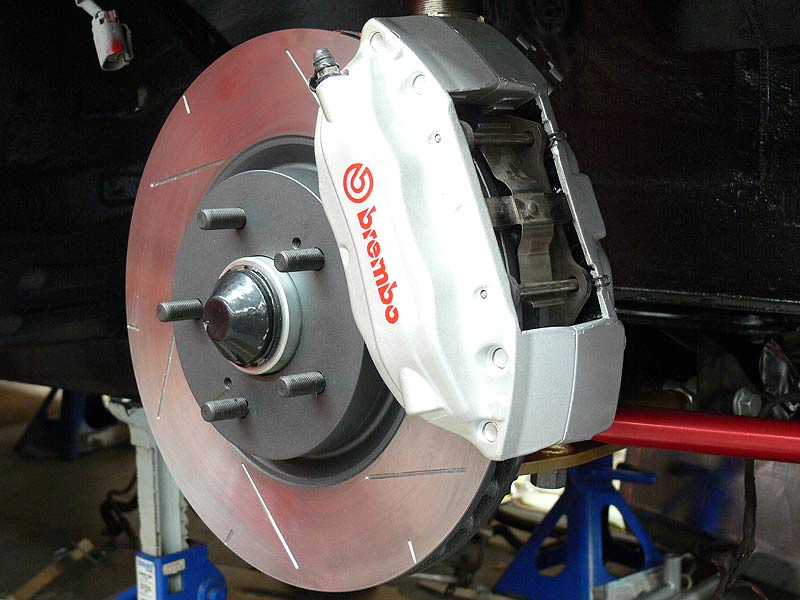
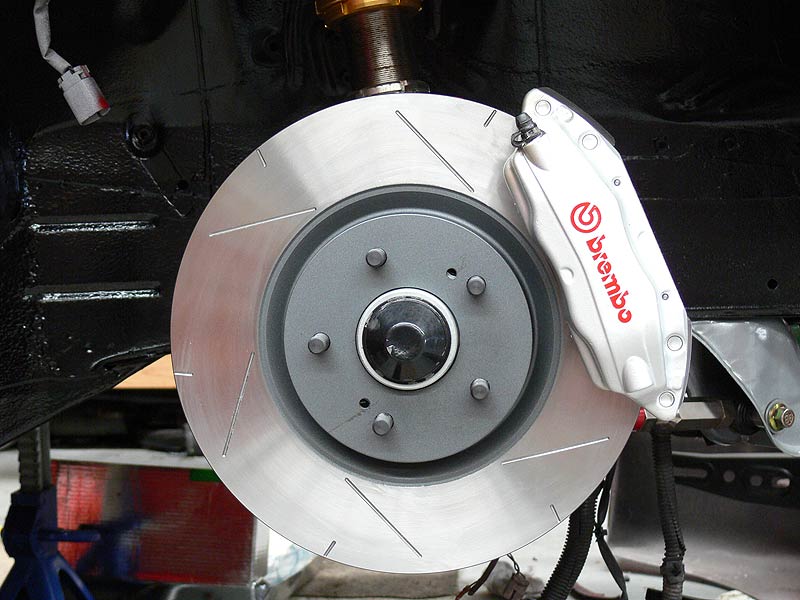
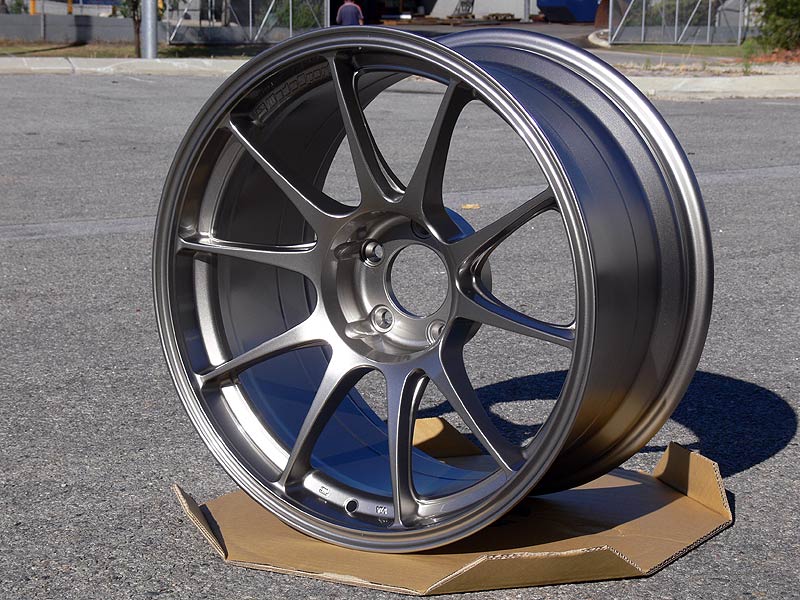
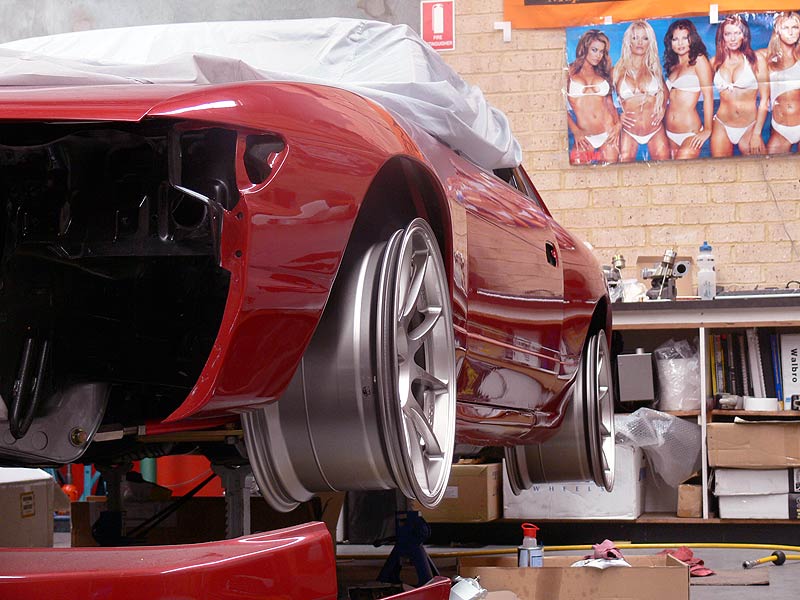
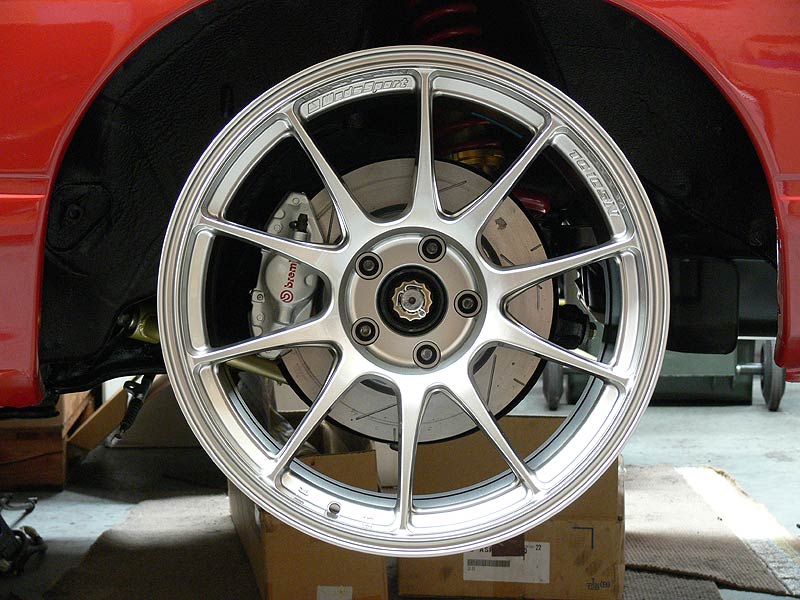
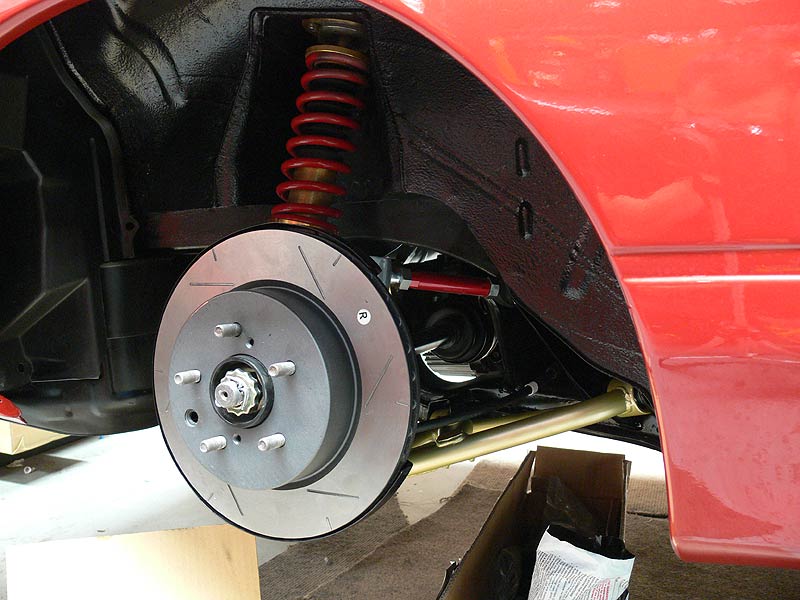
Ikeya Formula Front LCA's Inner MountSecond last step was to go around and tighten up all the suspension ready to hit the ground followed by the tightening of all the wheel bearing nuts (which I had to go out and buy a 36mm 3/4" socket and 1/2"-3/4" adaptor :( cost = $50). It's now at a stage where the discs and be mounted up, calipers bolted on and wheels fitted. I think I will do this next week so that it can be rolled around the workshop. Josh at C-Red will be completing my engine and gearbox over the next couple of weeks (hopefully) and we can then drop the front suspension, mount the engine and gearbox, and put it all back again with then need to scratch the engine bay.
Phew, that was a big update, 'til next time.
Cheers
Brendan
