Situation normal…
Monday, 13 August 2007 | Comments (3) | Categories: Engine, Exterior, Suspension

Well it's been a couple of weeks since Autosalon, and during that period it was a time of rest and spending some quality time with the family. Many thanks to all the kind words that I've received...they're coming from all over the place including the US and Europe. But now it's back to situation normal...meaning only about 3hrs a week to work on the car.

So first up last week it was time for the tailshaft (driveshaft) to be installed. Now one thing to keep in mind here, is there hasn't been a tailshaft on this car for close the 3 years, meaning all brackets and bolts are long gone. If you're going to take on any restoration project, got get yourself a very large quantity of plastic snap-lock bags, a permanent marker and a bunch of plastic boxes to store the little bits in. Why? Because when it comes time to bolt things back up, it can take considerable amount of time to find the correct nuts, bolts and/or washers. This time I spent close to 50 minutes finding and then cleaning the tailshaft and centre bracket bolts. Once I had them, it was a fairly simple task.

Then I looked at the rest of the exhaust system. See for the show, I only had the rear section hanging by the rubbers so visually it looked complete. Now it was time for the front pipe, centre section and sometime this week the cat converter. The front pipe is the section between the turbo dump pipe (or Turbo extension as HKS calls it) and the catalytic converter. In my case I have an HKS Dump Pipe and HKS Front Pipe, both of which have been ceramic heat coated. So off I went to get some gaskets and flanges for the cat and dump. Now the 3-bolt gasket I got from Finnex didn't quite fit correctly, so I used the die-grinder to extend the bolt holes. (Note to self, put gasket into vice or you'll ruin the gasket!). After ruining the first gasket (plus wasting more time going and getting another), I had all the bits I thought I needed - and now ran out of time.
So now this weekend just past, it was time to focus on the front pipe. A quick test fit unfortunately revealed that it was going to be hitting the underside of the car. We can only speculate that because we now have nice new Nismo mounts, it was raised the engine up enough to cause the interference. No matter, we used an additional 3-bolt flange as a spacer (plus an additional gasket of course) to drop the front pipe down enough to clear. Yay, it fitted. Then the centre section of the exhaust was put on. Fairly simple affair, but damn that exhaust sealant can get bloody everywhere! With the addition of the mounting point that attaches to the rear subframe bolted up, the exhaust is looking good.
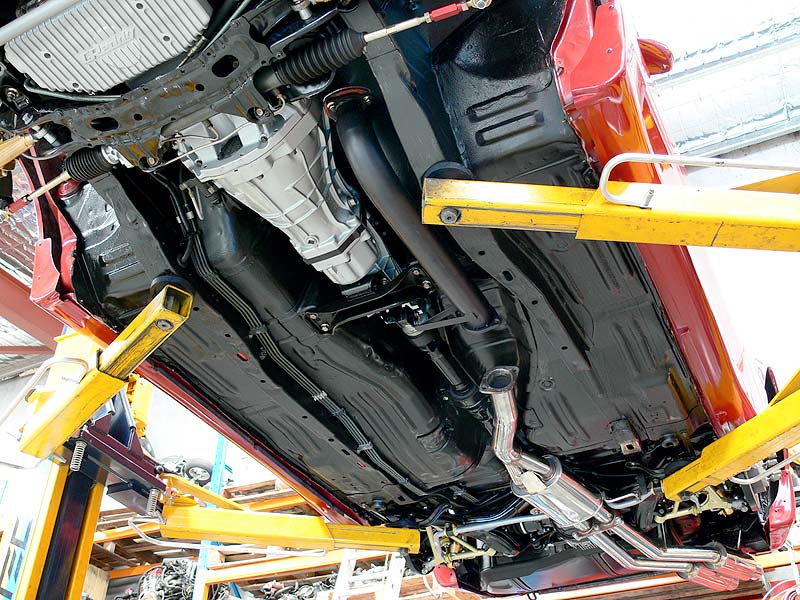
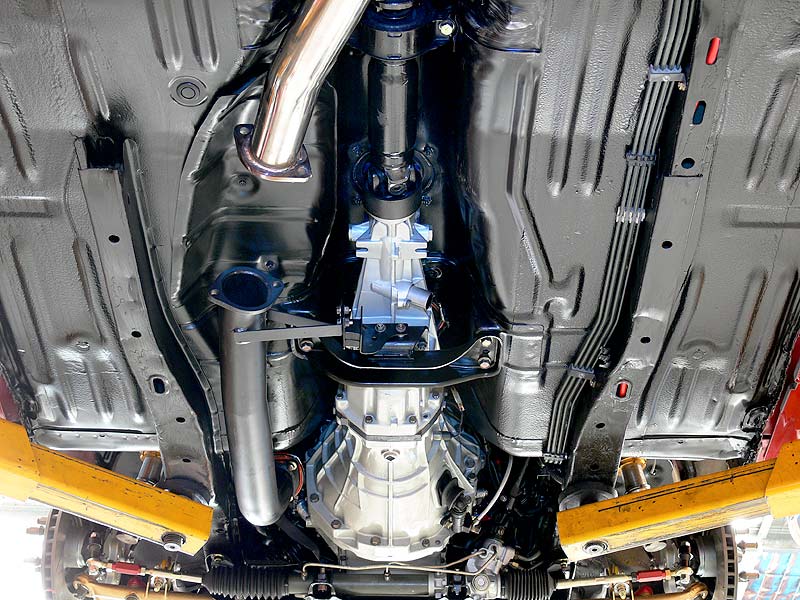
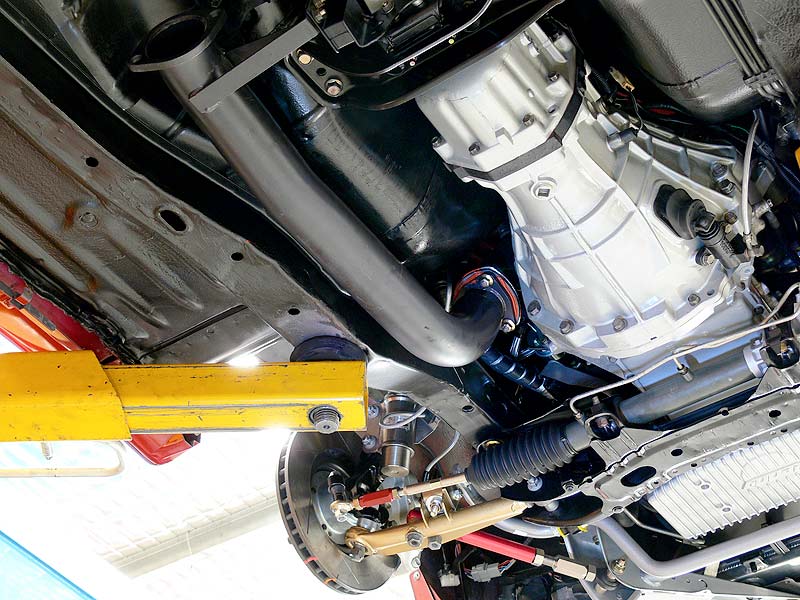
While on the hoist, I removed the wheels in preparation for the brakes to be bled and the cat converter and all the flanges and gaskets are in a single box ready to go on. Not having many pics of the underside, I setup the camera on the tripod and took a few snaps. Here's the results:
- Under the engine from rear
- Under the engine from front/side
- Under the engine from front
- Front Suspension assembly from front
- Front Suspension assembly from rear
- Rear Subframe assembly from rear
- Diff closeup
- Rear suspension assembley
So with these bits done, and the brakes and clutch being filled and bled at some point this week, attention will turn to getting the engine turning over. After that, it'll a matter of getting all the pieces left over sorted so it can be put over the pits. This includes things like the lights, indicators, washer bottle, oil catch can and as well as having an engineer take a look.
I'm so itching to get this on the road...my old Sigma is really showing signs of old age (which after doing 310,000kms is not surprising).
Cheers
Brendan

Your Comments
Posted by Dean Panic | 14 August 2007 at 03:33 AM
hey man, i just love your car and what you are still doing to it, i started following your project like in 2005 and i was watching every step you made .. but unfortunaly i was only 15 and i couldn’t go for my licence at that time, btw now i’m 18, got licence and brought my self a silvia.
it has the worst paint job atm. therefore i’m planing to send it, and company PPG is going to paint my car.. and i personly think that you got one of the best color silvia and it really suits it.
can you plase give me your color ” paint” code so i can paint my silvia in that color ??
king regards Dean
——-
Posted by Brendan Underwood | 14 August 2007 at 05:26 PM
Dean
Thanks for following. I sometimes forget it has taken this long. There’s a few posts in the past about the colour, just look for Mazda ‘Velocity Red’. Not sure of the paint code, but any decent painter should be able to find it. It’s from a 2006 Mazda MX-5/Miata.
Cheers
Brendan
Posted by deanpanic | 5 September 2007 at 05:23 AM
Hey man, can you please help me with the purchase of wide guards for Silvia, and should I cut out the old rear guards and weld the wide ones….
Please help