Getting in gear, and hooding up
Thursday, 8 February 2007 | Comments (2) | Categories: Audio, Engine, Interior, Driveline

Alright, so a couple of weeks ago, I was lucky enough to start getting some help on moving Sillbeer closer to completion. Enter one Mr Greg Dally. He'll be doing a few days a week working on my car to get things moving along. I have so much work on now just to pay to get it over the line, that I have minimal time to actually work on the car so I'm glad to have his expert hand on the job...and to those who don't know how he works, he's about as anal (if not more) as I am.
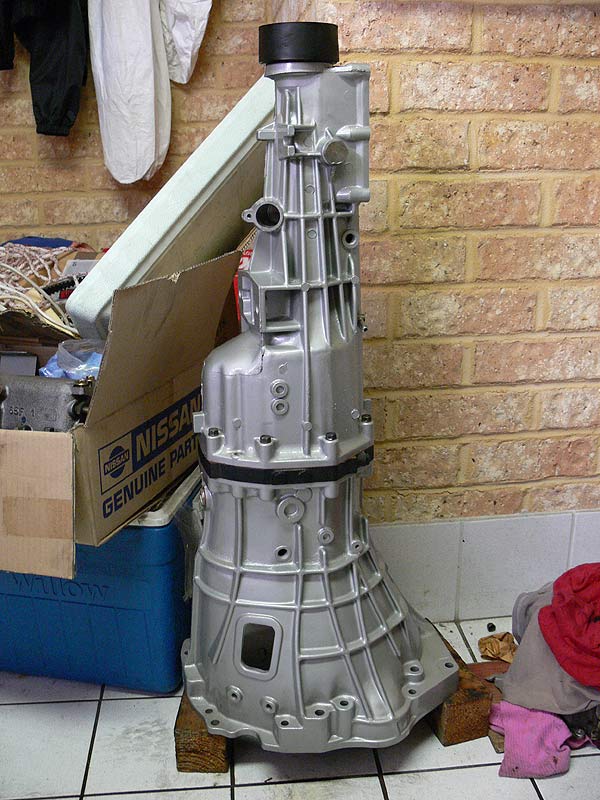
So first on his agenda was to complete the gearbox. Now it's really just been a shell for quite sometime now, so with the internals of an S14 5-speed gearbox identified, Greg made up mine to as you see it here. Apparently there was a bit of polishing that took place on some components that will never get seen so that just goes to show his enthusiasm. It just looks mint and with the clear coat, should be relatively easy to keep clean too.
- S13 Gearbox Top View
- S13 Gearbox Closeup Middle
- S13 Gearbox Closeup Rear
- S13 Gearbox Closeup Selector
A little bit that I've done in between other things is to paint the taillight cluster units with a chrome paint. As I'm going to use the 'crystal' clear/red taillight lens, there needs to be a little more reflection from behind so a coating of chrome helps that out. Also to assist in a nice neat seal around the taillight, I cleaned all to old sealer from the taillight surround...using a bit of Rostoff and/or Prepsol and elbow grease, it came off easily enough.
- Taillight Cluster Unpainted
- Taillight Cluster Painted
- Taillight Surround Before and After

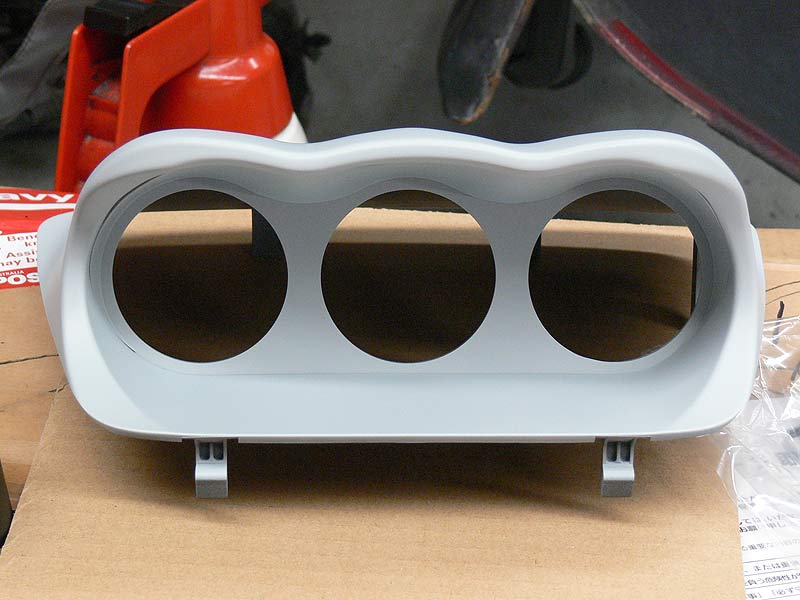
As the exterior and mechanicals are coming along now, it was time to start looking at what's happening with the interior. Now I have had a set of 4 Defi-Link gauges for some time, and have been tossing up on how to mount these. I had bought a set of Defi-Link Single Meter Visor's, but I didn't really like the thought of these things sticking out like dog's bollocks on the dashboard. So the only other option was a 3-gauge hood of some sort. Most of the stuff available for the S13 dash looks mighty naff, but those made for the WRX and EVO by Defi are so so nice...cue purchase to ET Performance and they had a Defi Triple Meter Hood in my lap inside a week. Now as this was made originally for a WRX (MY2000+) I will have to modify the dash and the hood appropriately to fit. This could take some time, but after an initial fitting - it'll look mint. Note that it comes in a primed plastic ready to be painted in your own chosen colour. Once fitted, the dash will get reskinned as close as possible to factory so it looks like the cluster was a factory option.
- Defi Triple Meter Hood Profile
- Hood Test Fit Front 1
- Hood Test Fit Front 2
- Hood Test Fit Top
- Hole in Dash
Please note that the dash used is stuffed anyway having had a set of gauges mounted on the passenger side. Once we have the basics sorted, we'll used a fresh dash to work with.

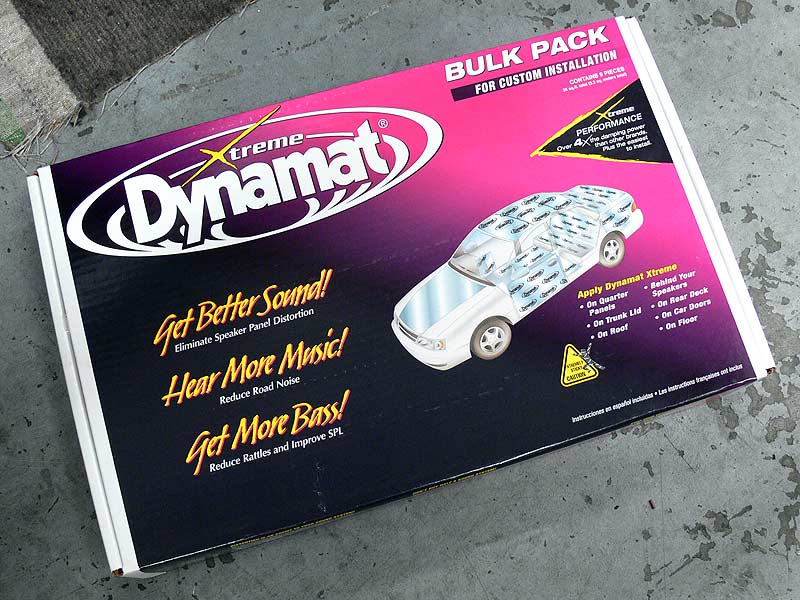
Now there's one thing that may or may not sit well with some people when building a car like this, and that's adding weight in the form of sound deadening. But as this really needs to be a comfortable (as well as quick) car to drive, it will be required...especially when taking into account the sound system planned (will be revealed in a future post). So as is done to all of Chip Foose's cars on Overhaulin', the interior will be fully decked out with Dynamat...improving on both sound and temperature in the cabin. This will be applied to all areas of the boot, the floor, roof and doors. Yes, it'll add weight, but at the same time make the car feel more solid (think thud rather than clink when closing the doors) and liveable especially when driving down south.
Next up for me is to find some components in the engine such as Power Steering pump, A/C compressor, alternator and starter motor and get them ready for fitting. The front and rear window seals should arrive from Nissan any day now and we've also ordered in a new brake master cylinder from a Z32 300ZX in the larger 1 1/16" size. An article on SportCompactCar's web site notes the particular's around using this master cylinder with Brembo's.
Also on the subject of interior, I need to start gathering the pieces that will get refinished (ie. plastic trim) and the bits that will be retrimmed to match the Honda Integra DC2 Type-R Recaro's that will be fitted. So much to do, so little time, but with Dally on the job things are looking great.
Cheers
Brendan

Your Comments
Posted by SavannahStatus | 13 April 2007 at 05:39 PM
How do you plan to refurbish your interior panels? I was going with SEM paint to paint my plastic pieces but, I’m having a tough time finding the correct shade of charcoal. Can you assist?
——-
Posted by Brendan Underwood | 5 June 2007 at 08:25 PM
For time being, the interior panels with just be cleaned and fitted. Working to the Cabin Autosalon deadline, I see the interior colour as way down the list with regard to priority.