All the trimmings
Thursday, 28 June 2007 | Comments (0) | Categories: Audio, Interior, Suspension

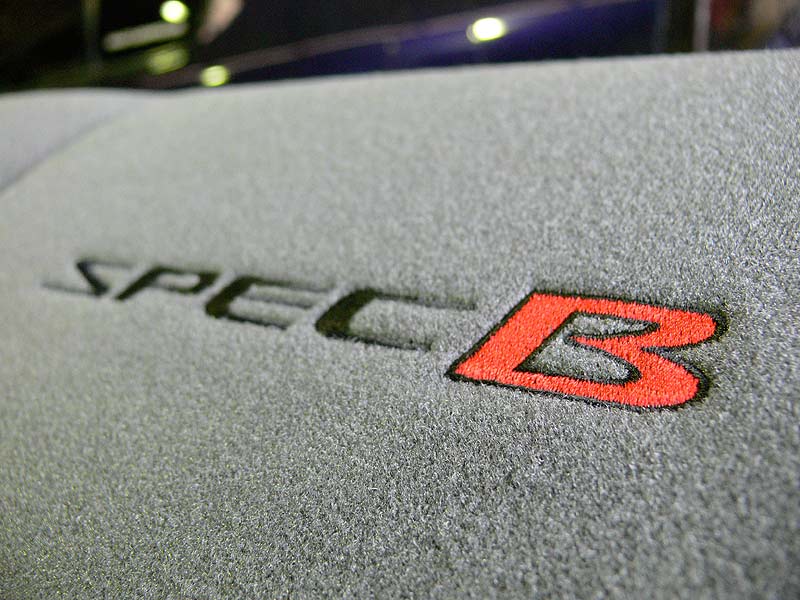
Didn't the logo come up tops! I'm extremely happy with the way the logo has come out...not to mention the trim so far. The trim is currently in the very capable hands of Chris, Peter and the team over at Trimcare in Welshpool. The rear seats have been trimmed, the vinyl on the door trim has been repaired, and the time the photos were taken, they were still to be resprayed back to factory original colour.
- Door trim insert logo
- Door trim inserts ready for fitting
- S13 Rear Seatback trimmed ready to go

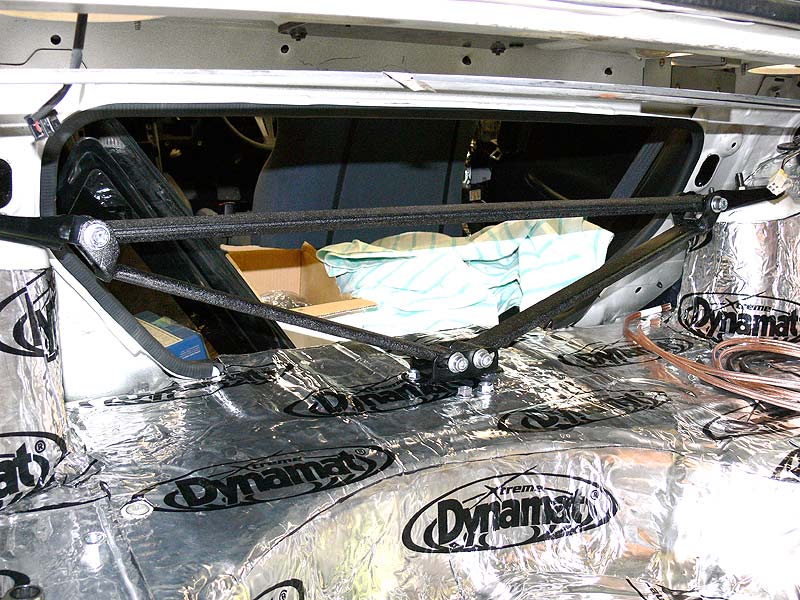
While Trimcare have been working on the cloth trim pieces, I worked on the boot - specifically the rear Cusco Strut Brace and the additional OST brace. Essentially you fit the main brace and centre the bits, then fit the triangulating braces that reach to a plate on the floor. You mark the holes on the floor, drill a nice clean guide hole using a small drill bit, then proceed to drill the main hole. Then get on your back, riggle under the back of the car (mmm, looks so clean under there), and pit the backing plate into position which is just above the differential. I also fitted up the Zenith Boot Brace which ties the ends of the chassis rails together in a similar way to the standard S15 rear boot brace does.
- Holes drilled in boot floor for bottom plate
- Zenith Rear Boot Brace
Of course all these bits will need to come out again, but finding all the bits and making sure it all fits is all part of the process.
Now the plastic trim in the boot usually covers up the top of the suspension towers, so once you fit a rear strut tower brace, it no longer fits. So the solution is to cut holes in the plastic trim so the brace and come through as well as giving enough room to adjust the coilovers damping. With this in mind, and the use of an engraving/dremel tool I set about cutting holes on an already busted set of trims. Using a tape measure and pencil I roughed out a guide to cut. I fitted a 20mm cutting wheel to the dremel and made my first cutouts, cleaning up the corners with a small 8mm diameter grinding stone. Test fitting revealed that the holes could be made smaller, so with that I measured out on the good trims and an hour or so later it was done. These boot trims were also dropped over to Trimcare so that can be refinished in the factory colour. The edges of the holes will get a clean rubber trim put around the edge.
- Suspension tower trim hole (passenger side)
- Suspension tower trim hole (driver's side)
You can see though that the original colour of the car (ie. white) is showing through the holes, so I masked up the area and used some Wurth's Matt Black paint to darken the area. Once the trims go back on, it should look need and tidy.
- Suspension tower painted (passenger side)
- Suspension tower painted (driver's side)
As the paint can was out, I quickly masked up the rear tow loop that sticks out under the rear bar and painted that too. It was looking rather scummy, but I sanded it back and found a cleaner black plastic trim and now it's up to spec. Oh, and considering I was tinkering at the back, I refitted the number plate lights that I had cleaned up. This also involved taking the old tape off the wiring which runs inside the boot and re-wrapping in new tape. With new bulbs in place and a bit of grunting trying to plug them back in (as the plugs are up on top of the steel bumper), all went in without a problem.
- Tow Loop (top)
- Tow Loop (bottom)
- Number plate lights re-fitted
Meanwhile Marc has been completing the wiring loom, the Splitfire coils are in place, the injectors are wired up and there's hardly a wire to be seen thanks to the Marc Palmer Special Service (you really need to look for them). Oh, and all that stereo gear was picked up thanks to Alex at Westside Car Audio in Osborne Park. I got a great deal on the gear, including the DDLinear Flagships. The amps are tiny and much lighter than an older 1000w monoblock is, so it evens out the use of all the dynamat ![]() Now I might have to upgrade my iPod because I need a later version...but that's a tax deduction anyway.
Now I might have to upgrade my iPod because I need a later version...but that's a tax deduction anyway.
Seeya round
Brendan
PS> Apologies for the later than normal posting date.
