
Relocated Fusebox
Monday, 13 December 2010 | Comments (10) | Categories: Engine
Recently I had a question sent through from 'obnxsh' on JDM Style Tuning regarding my fusebox.
I was wondering how you have the fuse box mounted where it is? Mine is currently there as well, but it is not done very well. Did you make up your own brackets?
Well, the unfortunate thing is that I wasn't there when this item was installed, so here's some pics of the item as it's mounted on the front right side of the engine bay. Excuse the water drops, they're from driving in the rain without inner guard liners.

So here you can see it's tucked right in to the corner behind where the battery would have originally been located. You can see the simple bracket I made up for the washer bottle in front of it. In behind is an access hole to the inside of the front guard where the loom is fed through and over the top of the front chassis section out of the way of the tyre.
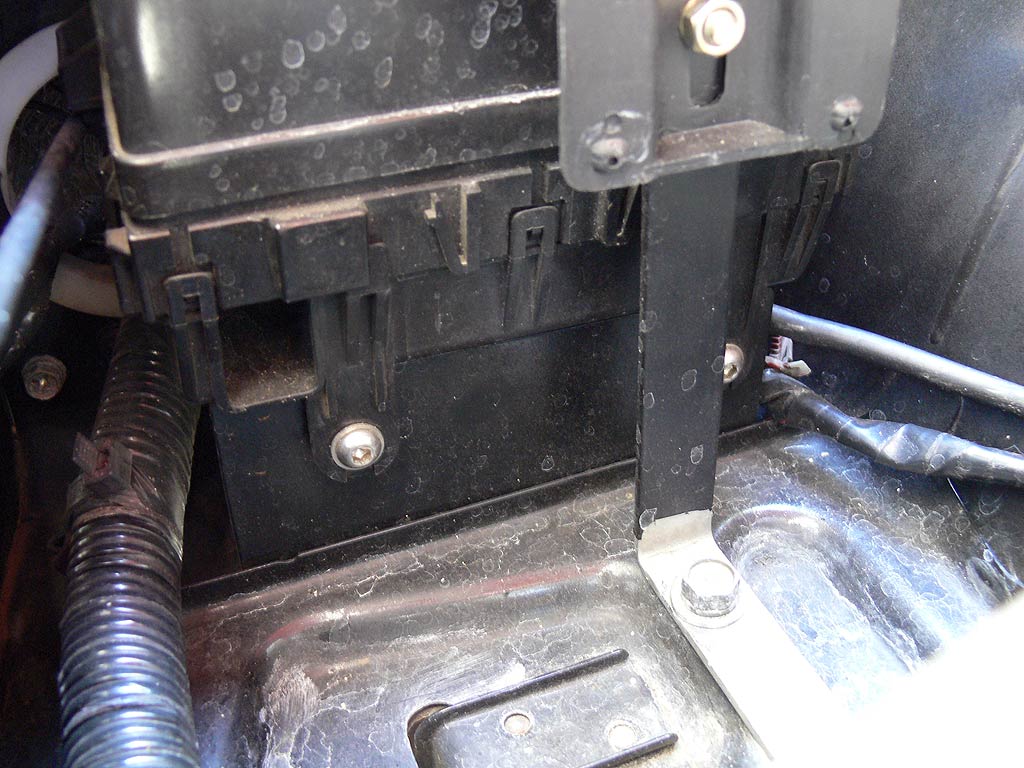
Here's a closeup of the fusebox mounts. The box is held in place by two stainless allen screws attached to a metal bracket that is an 'L' plate bolted down to the horizontal next to the battery tray.
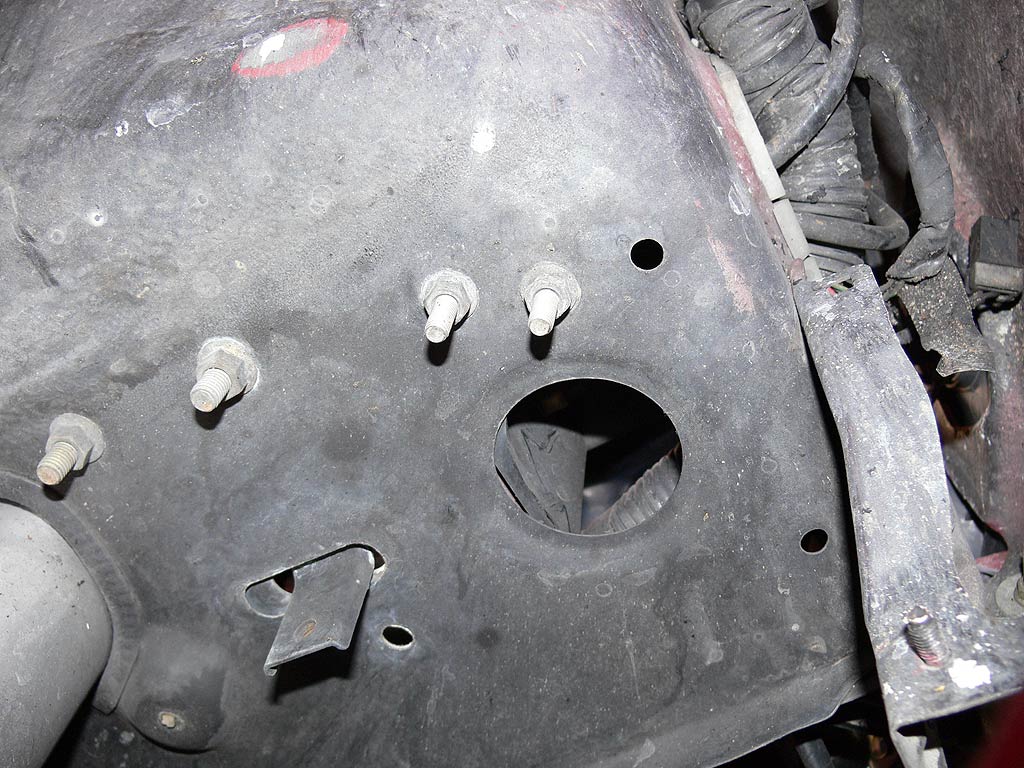
From underneath you can see the two bolts (centred in the photo) holding the bracket in place and also see the vertical section of the 'L' bracket through the hole. I believe this hole would originally have been used by the filler neck running down to the washer bottle which would have taken up residence underneath in this location. The loom can be seen going through the guard in the top right of the photograph.
I hope that helps those looking to mount their fusebox snug in the engine bay and providing room for an aftermarket washer bottle and mounting the battery in the boot.
Cheers
Brendan
Your Comments
Posted by Josh | 13 December 2010 at 02:42 PM
Hey Brendan,
Thanks a bunch for that mate! Just what I needed to get it sorted
Cheers,
Josh.
Posted by Brendan | 13 December 2010 at 02:48 PM
No problems Josh, glad to help out. Good luck with the project.
Posted by Loki | 16 January 2011 at 12:22 AM
Keep on blogging about your car mate.
Posted by Brendan | 16 January 2011 at 11:06 AM
Will do, been going back through all my posts and recategorising all the entries and making the images the right size for the new blog template I did up. Up to page 8 of 17 pages of posts so I have a bit of work ahead of me.
Posted by Daoud | 24 February 2011 at 12:32 PM
Hello. My name is Daoud; I’m a good friend of Toby Broafield.I’ve talked to you in the past on Toby’s blog.I’m happy to see that you’ve updated your blog. I’ll keep on watching it.
Posted by Brendan | 24 February 2011 at 12:48 PM
Thanks Daoud, fitting it in between work…where I’m a web designer/developer is the difficult bit. Especially when you’ve been working on website stuff all day the last thing you want to do sometimes is update your own site.
Posted by Daoud | 4 March 2011 at 09:14 AM
I totally understand what you mean. That’s why I have a job that’s not related to cars right now, so I can enjoy what I do when I’m not working. Can you give me your email address? I have few questions to ask you.
Thanks.
Posted by Josh | 6 March 2011 at 12:29 AM
Hey Brendan,
It’s Josh here (obnxsh) I’ve just set up a blog for my build at http://www.obnxsh.com if you’re interested to see what I’ve been doing!
Cheers,
Josh.
Posted by XDC Kev | 13 October 2012 at 05:56 AM
Did you need to extend the cables ????
Posted by Brendan | 15 October 2012 at 08:12 AM
@XDC Kev, I don’t believe so, but I will check just the same.